
I thought I might hang it in our school room but I changed my mind and decided to paint it to hang in my girls' bedroom. My oldest could use a corkboard to hang special pictures,

At one point they were more focused on painting each other than the frame. Had to put a squash to that.

After they started slathering the paint thick on the top and bottom, I tried lightly brushing it on the sides and loved the dry-brush look of the blue over the brown.
 |
| (Anyone else have one of these pretty little 6-in-1 hammer/screwdrivers? I use mine all the time!) |
Well it was too late to go with that dry-brush effect all over. I was sad. I had to make up for this error! So I let them continue to lay it on thick and I decided to just go back over and dry brush with black later. This is how it looked when I was done painting.

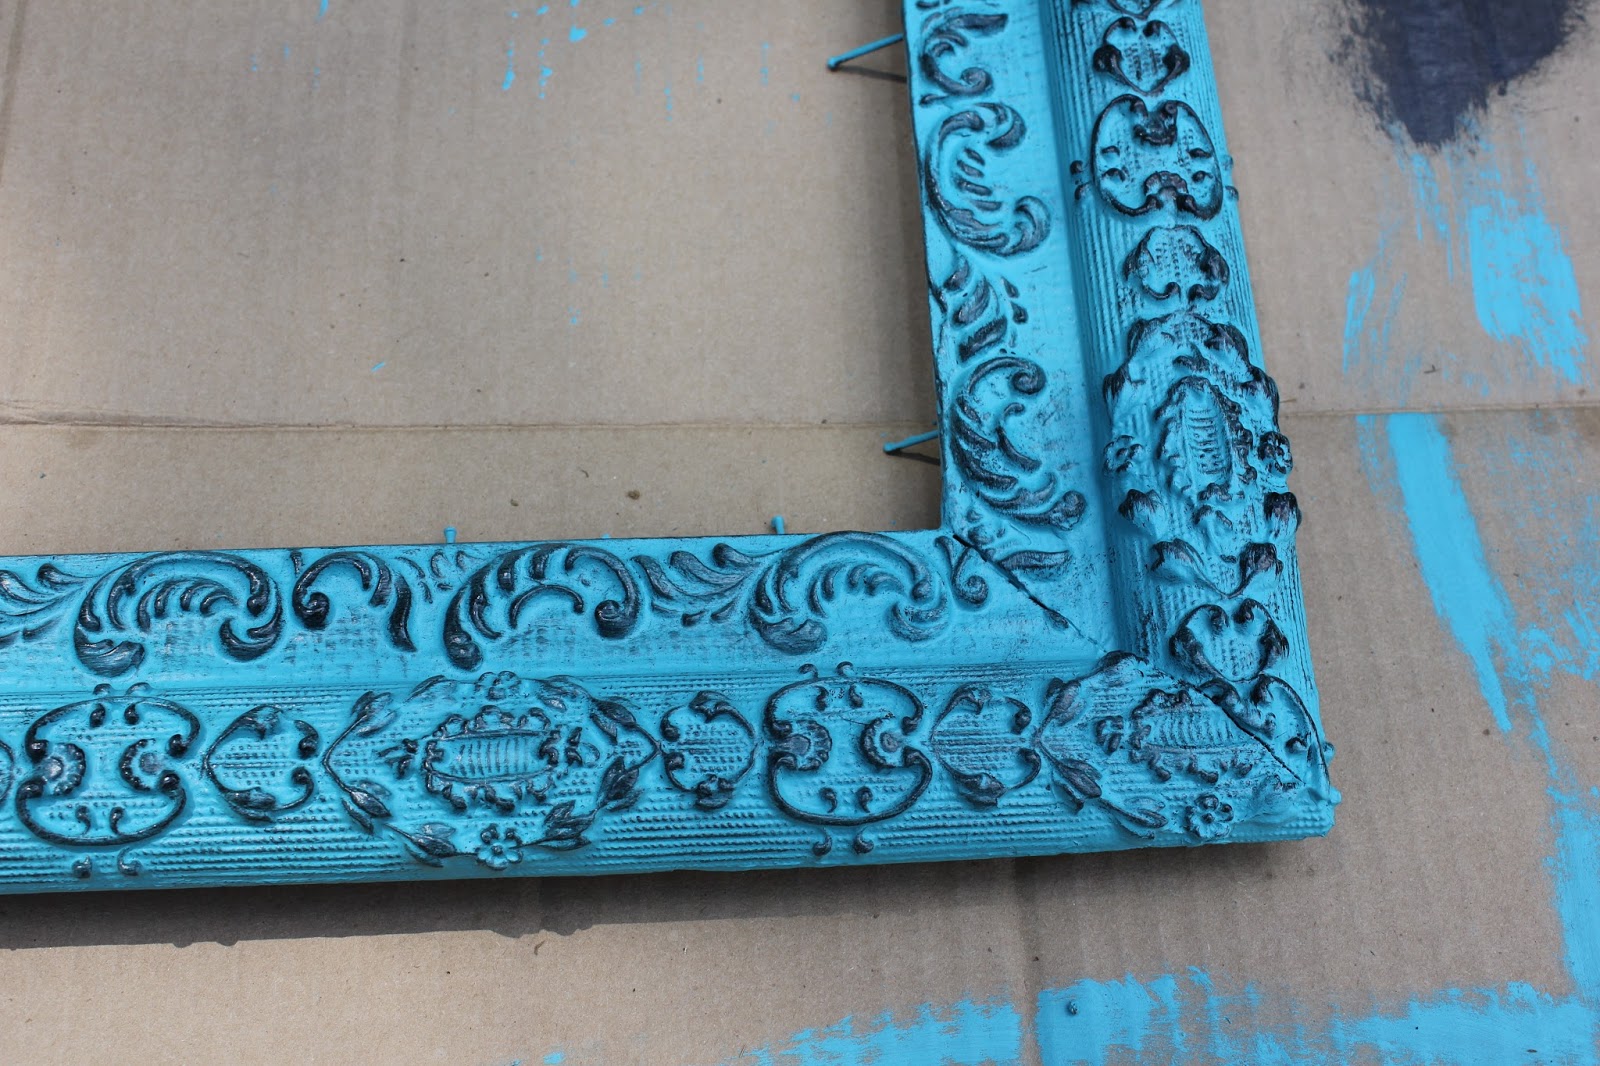
I'm psyched about the reverse effect. It really made the scrollwork pop. As I was finishing up with the black, I suddenly remembered a cork bulletin board about the size of this frame that I'd seen at Sally's a couple days before. I might not have slept that night wondering if it was still there and if it would fit.
So I zipped on over that evening 15 minutes before Sally's closed, hoping it was meant to be. And it was. $2.99 was worth taking a chance that it was the right size. And it (almost) was. To make it fit in the frame I just needed to remove its original frame and a couple of inches in the length. That was easy to do with a box cutter.

But that tan cork doesn't go with the color scheme in the room I decided to spray paint it black.
 |
| (I don't recommend spraying words before covering the rest. You end up having to spray extra layers, including random lines and swirls, to cover it up.) |
After a few layers of the black paint dried, I literally squeezed the perfectly fitting corkboard right into the back of the frame. I tapped in a few new nails around the edges to secure it in place Thanks to the original wire hanger that's still in tact, she's good to hang. Ta da!

Pay no attention to the bubble in the cork. We'll tack something right over that. Now to find some fun pushpins.
No comments:
Post a Comment